

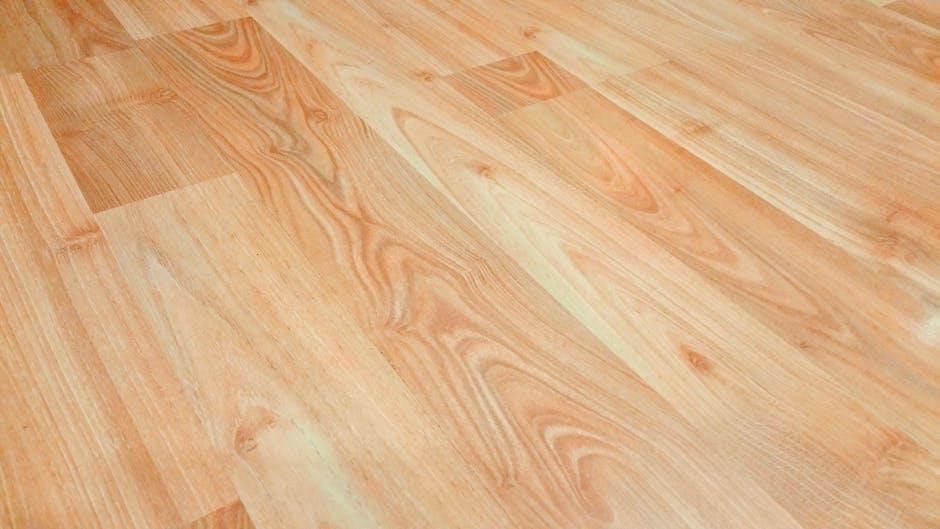
Mohawk laminate flooring offers durability and aesthetic appeal, transforming spaces with realistic wood designs. Its robust construction ensures long-lasting performance, while the Uniclic locking system simplifies installation for a secure fit.
Overview of Mohawk Laminate Flooring
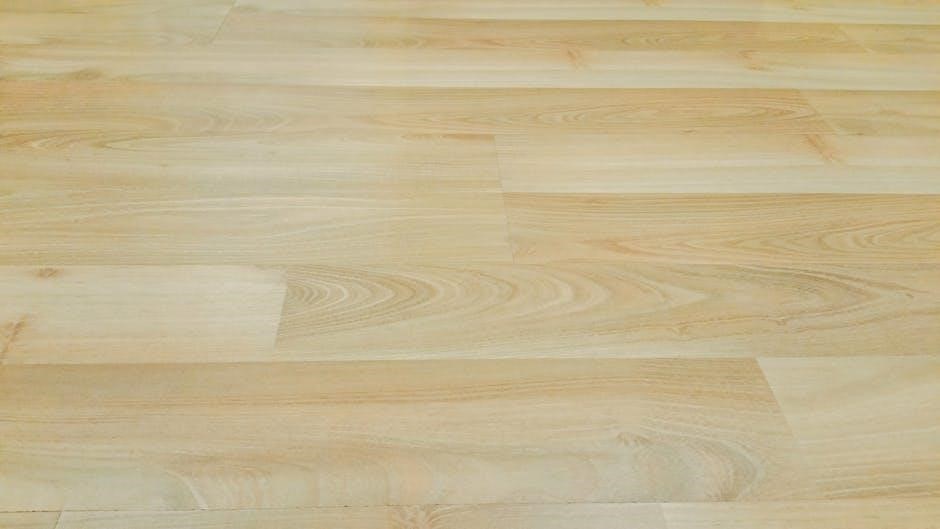
Mohawk laminate flooring is a popular choice for its durability and realistic wood-like designs. It features a robust construction with high-quality core layers for stability. Designed to withstand heavy foot traffic, it offers resistance to scratches, moisture, and fading. The Uniclic locking system ensures easy and secure installation without glue. Available in various styles and finishes, Mohawk laminate flooring combines aesthetic appeal with practicality, making it ideal for residential and commercial spaces.
Importance of Proper Installation
Proper installation of Mohawk laminate flooring ensures long-term durability, stability, and a professional finish. It prevents issues like warping, unevenness, and gaps between planks. Correct alignment and secure locking with the Uniclic system are crucial for a stable floor. Improper installation can lead to premature wear and structural problems. Following manufacturer guidelines ensures the flooring performs as intended, maintaining its aesthetic appeal and functionality over time, while also protecting your investment in the product.
Preparation for Installation
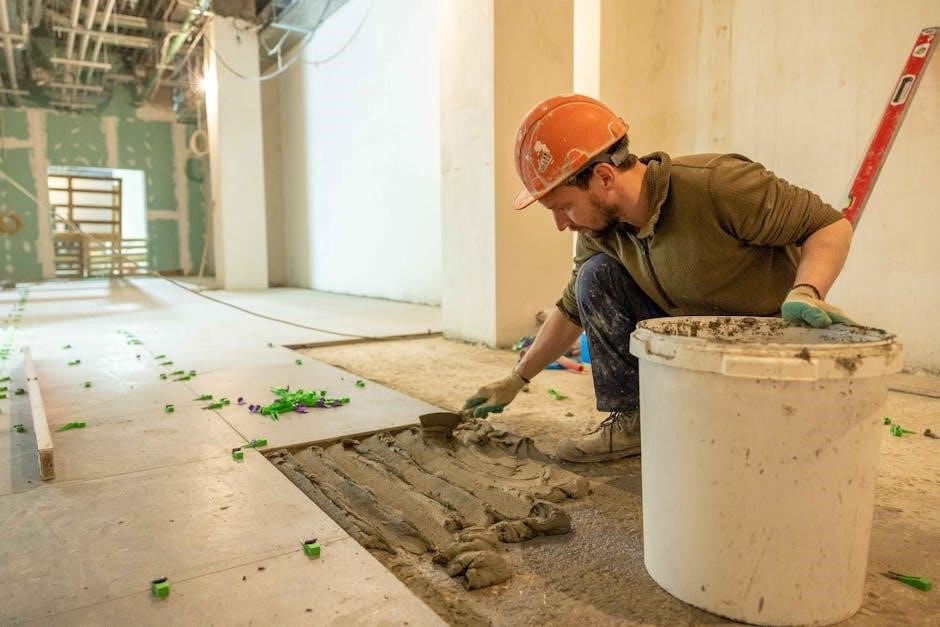
Begin by inspecting and cleaning the subfloor to ensure it is level, dry, and free of debris. Install underlayment to provide cushioning and noise reduction, creating a smooth surface for the laminate planks to be laid properly.
Subfloor Requirements and Inspection
The subfloor must be level, with no more than 1/8-inch variation in 6 feet to ensure proper installation. Check for moisture and structural integrity. Address any unevenness with self-leveling compound and ensure the floor is dry and clean. Sand if necessary to achieve a smooth surface. Proper preparation prevents future issues like warping or uneven wear, ensuring a stable base for your Mohawk laminate flooring.
Underlayment Installation
Install underlayment to provide cushioning, noise reduction, and moisture protection. Lay it across the entire subfloor, ensuring seams are tightly sealed with tape. Cut underlayment to fit around obstructions and ensure it extends to the walls. Avoid overlapping and air gaps for optimal performance. This layer is crucial for the stability and longevity of your Mohawk laminate flooring, ensuring a smooth and quiet surface.

Tools and Materials Needed
Essential tools include a tape measure, utility knife, mallet, and tapping block. Materials like underlayment, spacers, and transition strips ensure a professional-grade installation of Mohawk laminate flooring.
Essential Tools for Laminate Flooring Installation
A tape measure, utility knife, and mallet are crucial for accurate cuts and secure plank alignment. A tapping block ensures even fitting without damaging edges. Additionally, a pencil for marking and a pry bar for tight spaces are handy. Safety gear like gloves and knee pads protects during installation. These tools collectively streamline the process, ensuring precision and efficiency when laying Mohawk laminate flooring for a professional finish.

Recommended Materials for a Successful Installation
High-quality underlayment is essential for a smooth, even surface and noise reduction. Transition strips are needed for seamless transitions between flooring types. Baseboards or molding may require removal and reinstallation. Fasteners like nails or staples are necessary for securing underlayment, and adhesive may be needed for certain installations. Ensure all materials meet Mohawk’s specifications for compatibility and durability, and follow manufacturer instructions for proper preparation and application to achieve a professional finish.

Laying the First Row
The first row sets the foundation for a successful installation. Begin by aligning the planks with the room’s longest wall, ensuring proper spacing and leveling for accuracy.
Aligning the First Plank
Start by aligning the first plank along the longest wall, ensuring proper spacing and leveling. Use a measuring tape to mark the wall for accurate placement. The Uniclic locking system allows for easy alignment without glue. Begin at the left corner, leaving a 1/4-inch gap for expansion. Use a level to ensure the plank is straight and secure. This step sets the foundation for a seamless installation, ensuring subsequent planks align correctly and evenly.
Securing the First Row
Once the first plank is aligned, secure it by tapping gently with a rubber mallet and tapping block. Ensure the Uniclic locking system clicks firmly into place. Maintain a 1/4-inch expansion gap along walls. Use a chalk line to mark the floor for precise alignment. After securing, trim the last plank in the row to fit, leaving the same expansion gap. This ensures stability and proper fit, preventing future shifting or unevenness in the flooring.
General Installation Steps
Mohawk laminate flooring installation involves aligning planks using the Uniclic locking system, ensuring proper fit and expansion gaps. Start with the first row, then proceed row by row;
Using the Uniclic Locking System
The Uniclic locking system allows for a glue-free installation by clicking planks together. Align the tongue of one plank with the groove of the next, then gently tap to secure. Ensure proper alignment and a snug fit. This system eliminates the need for adhesives, making installation faster and cleaner. Work row by row, maintaining slight tapping pressure to lock each plank in place. This method ensures a stable and visually seamless floor surface with minimal effort.
Installing Subsequent Rows
After securing the first row, start subsequent rows by aligning the plank’s tongue with the previous row’s groove. Use a tapping block to gently tap the plank into place, ensuring a tight fit. Stagger planks by at least six inches from the row below for a natural look. Continue this process, cutting planks as needed to fit around obstacles. Maintain consistent pressure and alignment to ensure a seamless and professional finish throughout the installation process.
Cutting and Fitting
Cutting and fitting Mohawk laminate planks requires precision to ensure a seamless installation. Use a saw or utility knife for clean cuts and fit planks snugly around obstacles for a professional finish.
How to Cut Laminate Flooring Planks
Cutting Mohawk laminate planks requires a saw or utility knife for precise cuts. Measure the plank to match the required length, mark it clearly, and cut carefully. Use a miter saw for angled cuts or a jigsaw for curved edges. Always wear safety goggles and ensure a clean, stable workspace to avoid splintering the material. Proper cutting ensures a smooth fit and professional-looking installation.
Fitting Around Obstacles
Fitting Mohawk laminate flooring around obstacles like heating vents, doorways, or pipes requires precise measurements and careful cutting. Use a jigsaw or coping saw for curved cuts and a utility knife for straight edges. Measure the obstacle’s dimensions, transfer to the plank, and cut accordingly. Test the fit before securing the plank to ensure a snug, gap-free installation. Always wear safety goggles and use a stable cutting surface for accurate results. Proper fitting enhances the overall appearance and functionality of the floor.
Finalizing the Installation
Seal edges with a compatible sealant to prevent moisture damage. Inspect the floor for gaps or uneven planks, touching up as needed for a polished finish.
Sealing the Edges
To ensure moisture resistance, apply a bead of compatible sealant around the flooring perimeter. Use a caulk gun for precise application, smoothing excess with a damp cloth. Avoid sealant on the flooring surface to maintain appearance. Allow the sealant to cure as per manufacturer instructions for optimal protection. This step is crucial for extending the lifespan of your Mohawk laminate flooring by preventing water damage and ensuring a professional finish.
Inspecting and Touching Up
After installation, inspect the floor for gaps, uneven planks, or damage. Address minor issues promptly by tightening loose planks or replacing damaged ones. Use manufacturer-approved products for touch-ups, such as repair kits for scratches or dents. Ensure all edges are sealed properly and no gaps remain. Finally, verify that the entire floor is level and secure, following the manufacturer’s guidelines for any necessary adjustments or repairs to maintain warranty validity and ensure longevity.
Maintenance and Care
Regularly sweep and mop Mohawk laminate flooring to prevent dirt buildup. Use manufacturer-recommended cleaning products to avoid damage. Dry spills immediately to prevent moisture issues.
Cleaning and Maintaining Mohawk Laminate Flooring
For Mohawk laminate floors, use a soft-bristle broom or vacuum with a hard-floor attachment to remove debris. Dampen a mop with clean water and a mild detergent, avoiding excessive moisture. Never use harsh chemicals or wax, as they can damage the finish. Dry spills immediately to prevent moisture seepage. For tougher stains, use Mohawk-approved cleaning products to maintain the floor’s appearance and longevity.
Troubleshooting Common Issues
Common issues with Mohawk laminate floors include gapping, buckling, or uneven planks. Check for improper installation, such as insufficient expansion gaps or incorrect underlayment. Moisture exposure can cause warping, so address spills promptly. For creaking, ensure the subfloor is level and secure. If planks shift, recheck the Uniclic connections. Consult Mohawk’s troubleshooting guide or contact support for persistent problems to maintain the floor’s integrity and appearance.